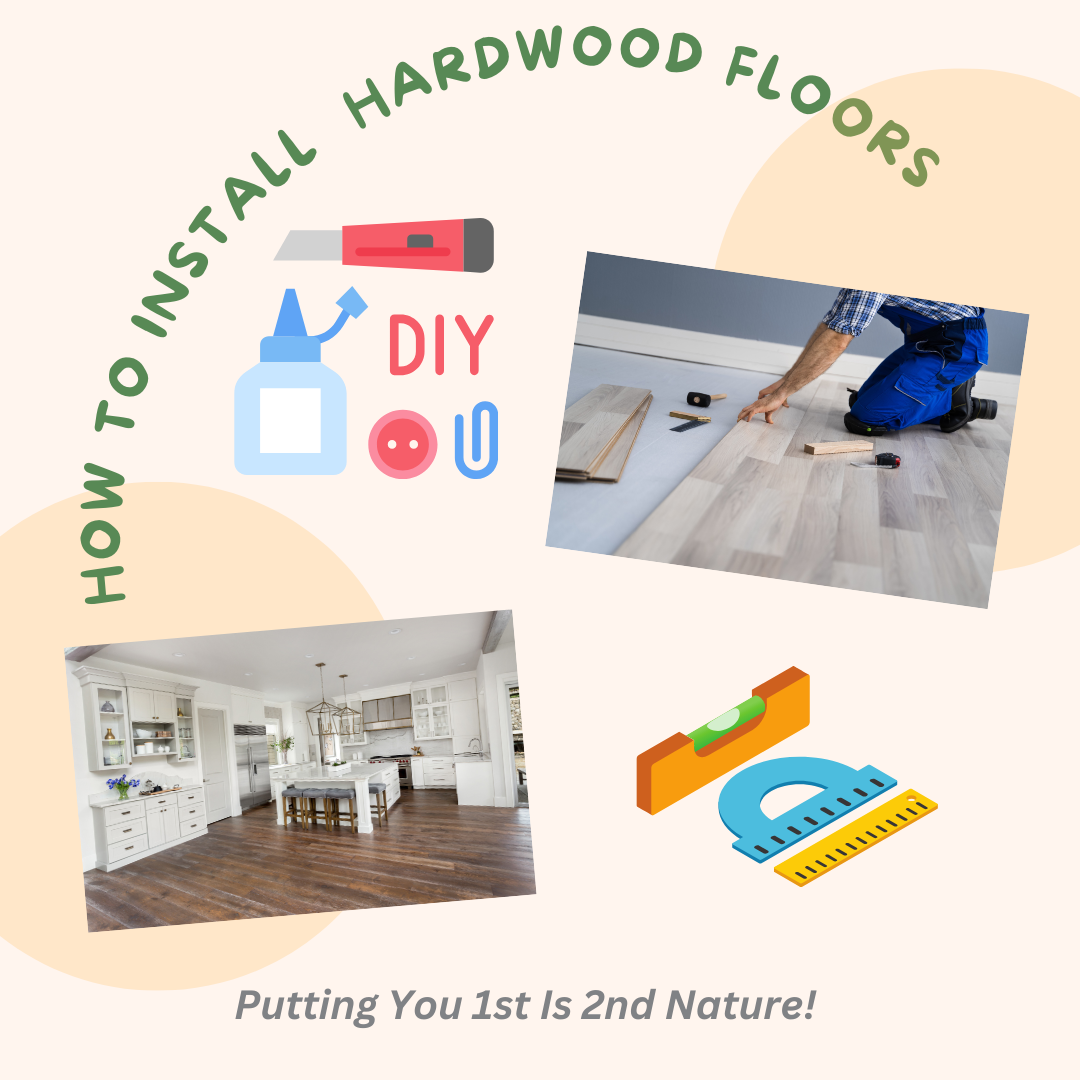
DIY Tips for Installing Hardwood Floors
If you’re considering installing hardwood floors yourself, you’re in for a rewarding project that can enhance the beauty and value of your home. Follow these simple markdown-mode-friendly tips to ensure a successful installation.
Materials and Tools
Before you begin, make sure you have the following materials and tools:
- Hardwood Flooring: Purchase enough to cover your space, plus 10% for waste.
- Underlayment: Choose the appropriate underlayment for your subfloor.
- Nails, Staples, or Adhesive: Depending on your installation method.
- Saw: A table saw or circular saw for cutting planks.
- Hammer or Flooring Nailer: To secure the hardwood.
- Measuring Tape and Chalk Line: For accurate layout.
- Spacer Blocks: Maintain consistent gaps between the wall and flooring.
- Safety Gear: Gloves, safety glasses, and knee pads.
Preparation
- Measure and Plan: Measure your room’s dimensions and plan the layout. Start from the longest wall to ensure a balanced look.
- Acclimate the Wood: Let the hardwood acclimate in the room for at least 48 hours. This helps prevent warping.
- Prepare the Subfloor: Ensure it’s clean, dry, and level. Repair any cracks or imperfections.
Installation
- Start with a Straight Line: Use a chalk line to create a straight starting line parallel to the longest wall. This is crucial for a neat finish.
- Install Underlayment: Lay the underlayment perpendicular to your hardwood planks and secure it.
- Begin Laying Planks: Start from the chalk line and work your way across the room. Leave a 1/2-inch gap at the walls for expansion.
- Stagger the Joints: Avoid aligning end-joints in adjacent rows. Stagger them by at least 6 inches for a more stable floor.
- Secure the Planks: Use your flooring nailer, adhesive, or fasteners to secure each plank.
- Cutting Planks: Measure and cut planks as needed. Remember to leave expansion gaps.
- Around Obstacles: For pipes or irregular shapes, use a jigsaw to cut around them.
- Last Row: Measure and cut the last row to fit snugly. This may require a pull bar and hammer.
Finishing Touches
- Fill Gaps: Fill gaps along the walls with matching wood filler.
- Install Trim: Install baseboards and shoe molding to cover the expansion gap.
- Protect the Floor: Place felt pads under furniture legs to prevent scratches.
- Maintenance: Follow manufacturer’s recommendations for cleaning and maintaining your hardwood floor.
Remember, installing hardwood floors takes time and precision. Don’t rush the process, and seek help from a professional if you encounter challenges beyond your expertise.
Happy DIY flooring! 🛠️🏡


 Facebook
 X
X
 Pinterest
 Copy Link


